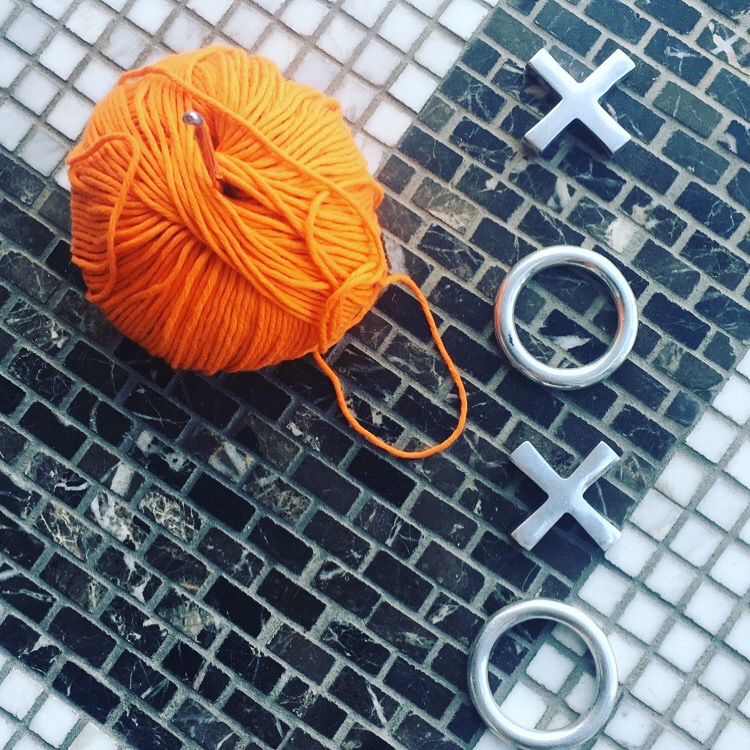
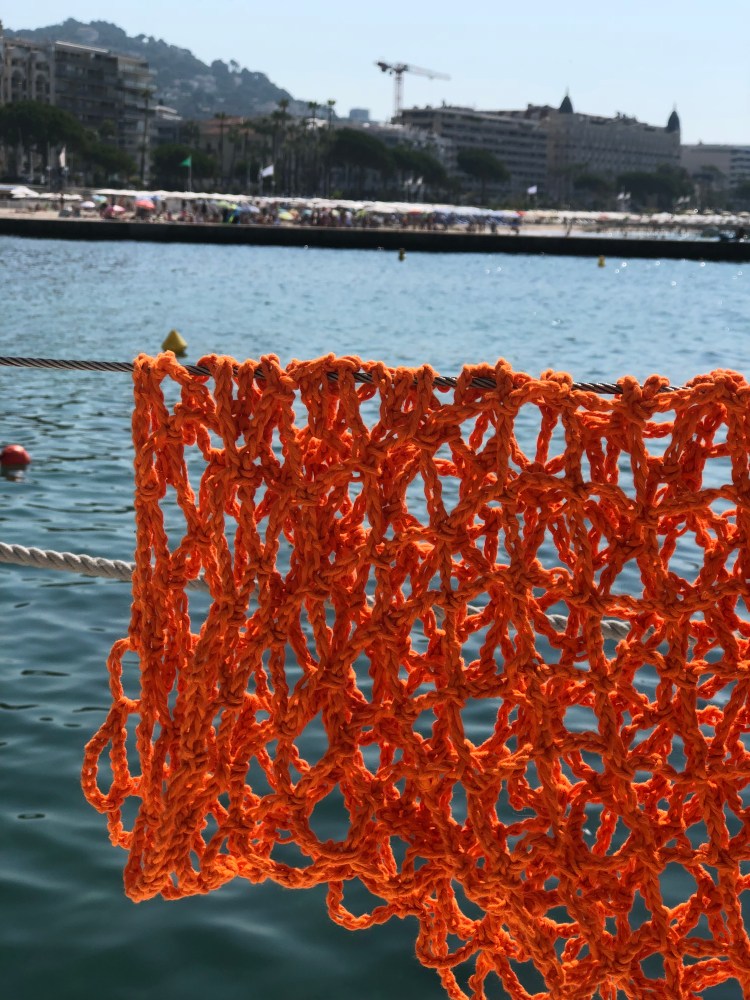
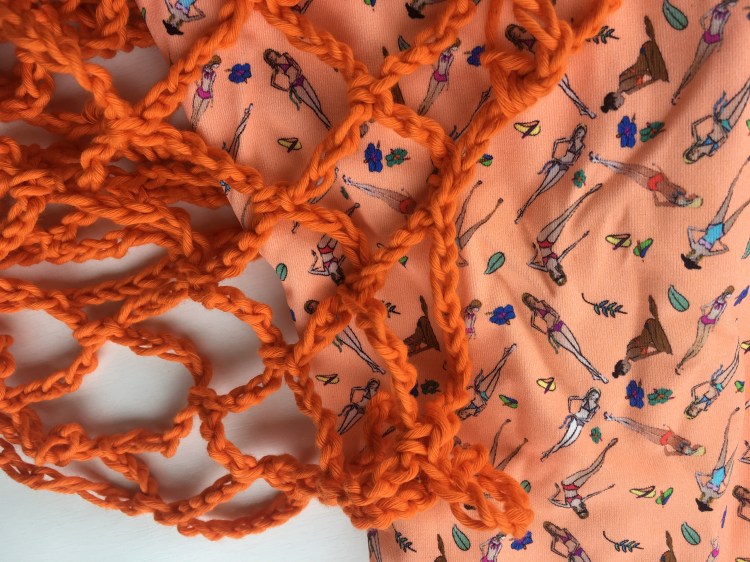
I love a summer crochet project and always looking for a chance to make something new! However, sometimes it happens that you only have one ball of yarn left over, and you’re left wondering what to do with it?! This is how I came up with the Cotton Beach Sarong.
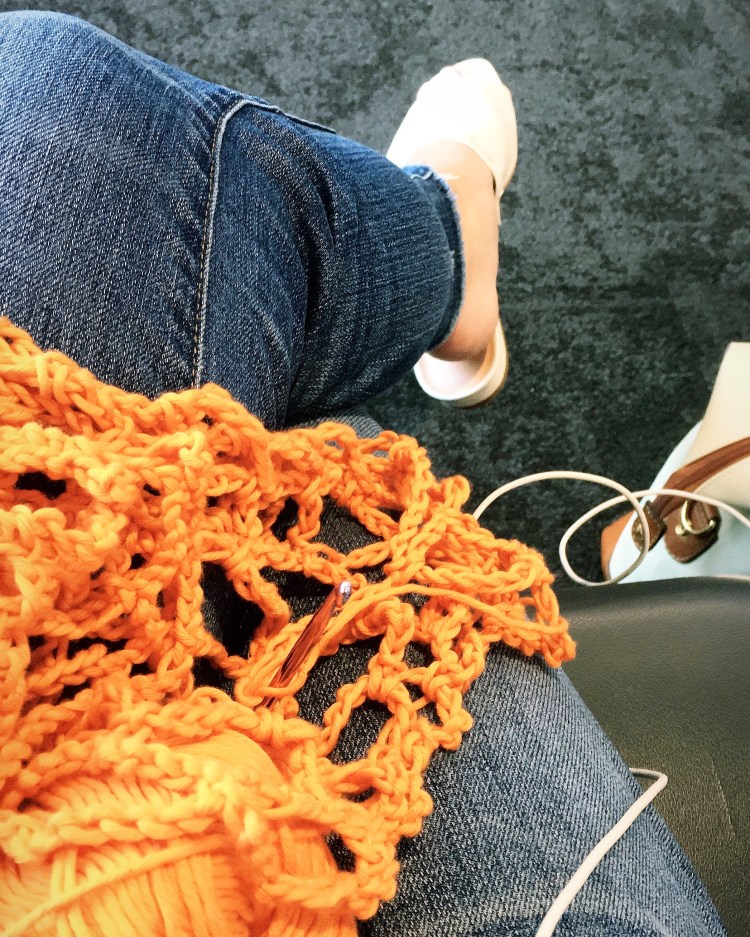
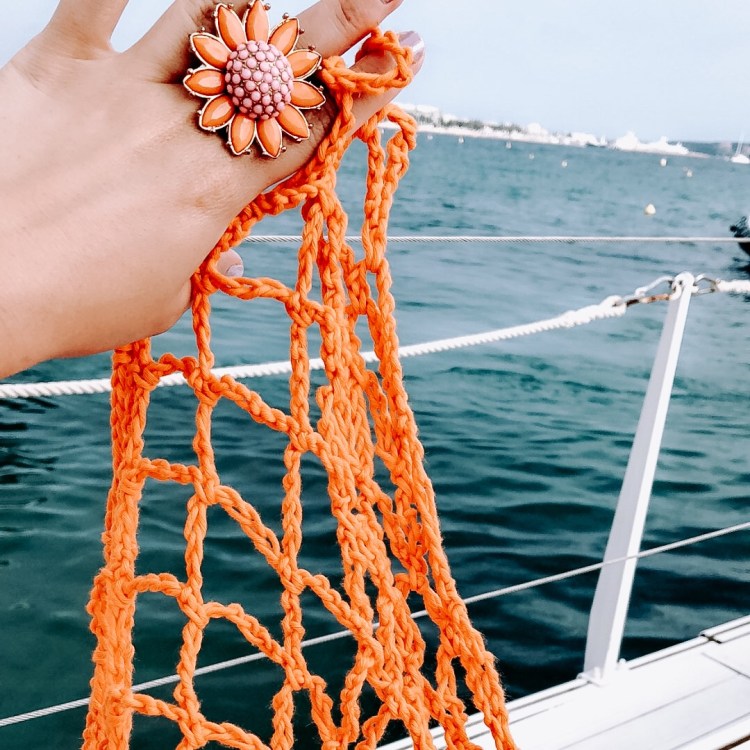
I wanted to make something that I could use for summer that would only require 1 ball of yarn. I decided to use a chain stitch because the open weave means it doesn’t use that much yardage and looks airy for summer. Although this pattern is written for using only 1 ball, you could certainly make a larger piece with more yarn. (As with all my patterns, sizing is adjustable based on continuation of working the established pattern!)
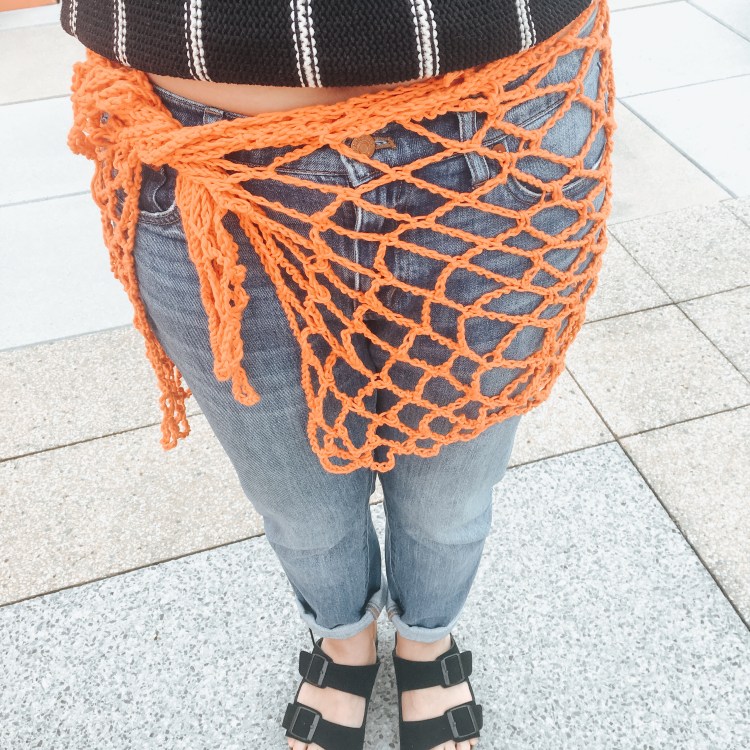
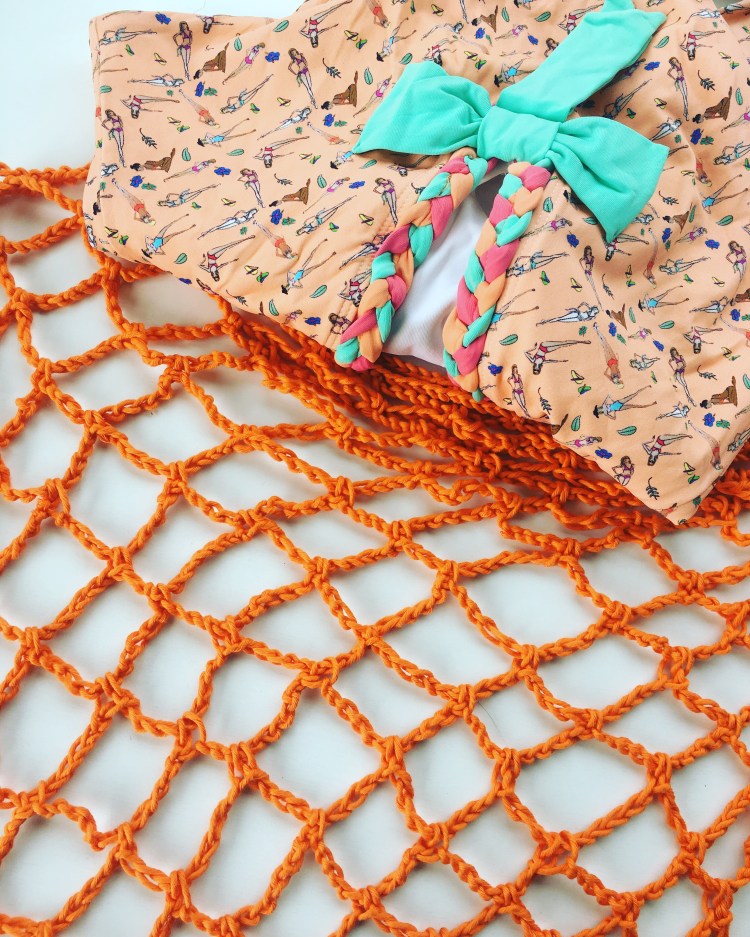
For this sarong, the general measurements will be 38″x 17″ (96 cm x 43 cm) at the top edge, and 35” x 17” ( 88 cm x 43 cm) at the bottom edge. The pattern does allow for an increased tie section at the top edges.
Keep reading below for the written instructions, and I hope you enjoy my pattern!
This pattern is written for using one skein of cotton yarn, however you can work a second skein for a larger size piece following the pattern established below.
You may also choose to use stitch markers to mark your sc spaces.
Pattern
Foundation row – chain 200.
Row 1 – work a sc into 10th chain from hook, *chain 10, sk 10, sc in every 10th chain* to end, turn.
Row 2-14 – continue pattern working *chain 10, sk 10, sc in every 10th chain* to end, turn. (or work until piece measures 15″ or 38 cm)
Row 15 – increase on the ends of the piece to create a tie. Chain 20, sc into the 10th chain from hook, ch 10, sk 10, sc into 10th chain. Resume established pattern working into the 10th ch with ch 10 between sc to end of piece. Turn. ( work tie increase for approx. 2″ or 5 cm)
Row 16-17 – work same as row 10.
Finishing – weave ends of the yarn into the chains.
Be Social
If you decide to use or share my pattern, please credit me using my social links. Give me a follow me on Instagram and Facebook @citybrightknits ! Happy crocheting! I would love to hear your comments below if you end up making this design. 🙂 Use #thecottonbeachsarong and #crochetcolorfully !
Years ago I received a crocheted blanket from my cousin, who thoughtfully told me that she considered I may need a blanket to keep me warm when I was moving away for the first time after college. That blanket was thick and long, and uneven along the edges in a sense that it was uniquely handmade. The color of it was bright pink with mixing strands of darker pink and paler pink throughout it. Just learning how to crochet myself at the time, I looked at the wide stitches and tried to figure out which stitch she used to make this blanket for me. Still to this day, I cannot figure out which stitch she may have used. Crab stitch maybe? Alternating shells?
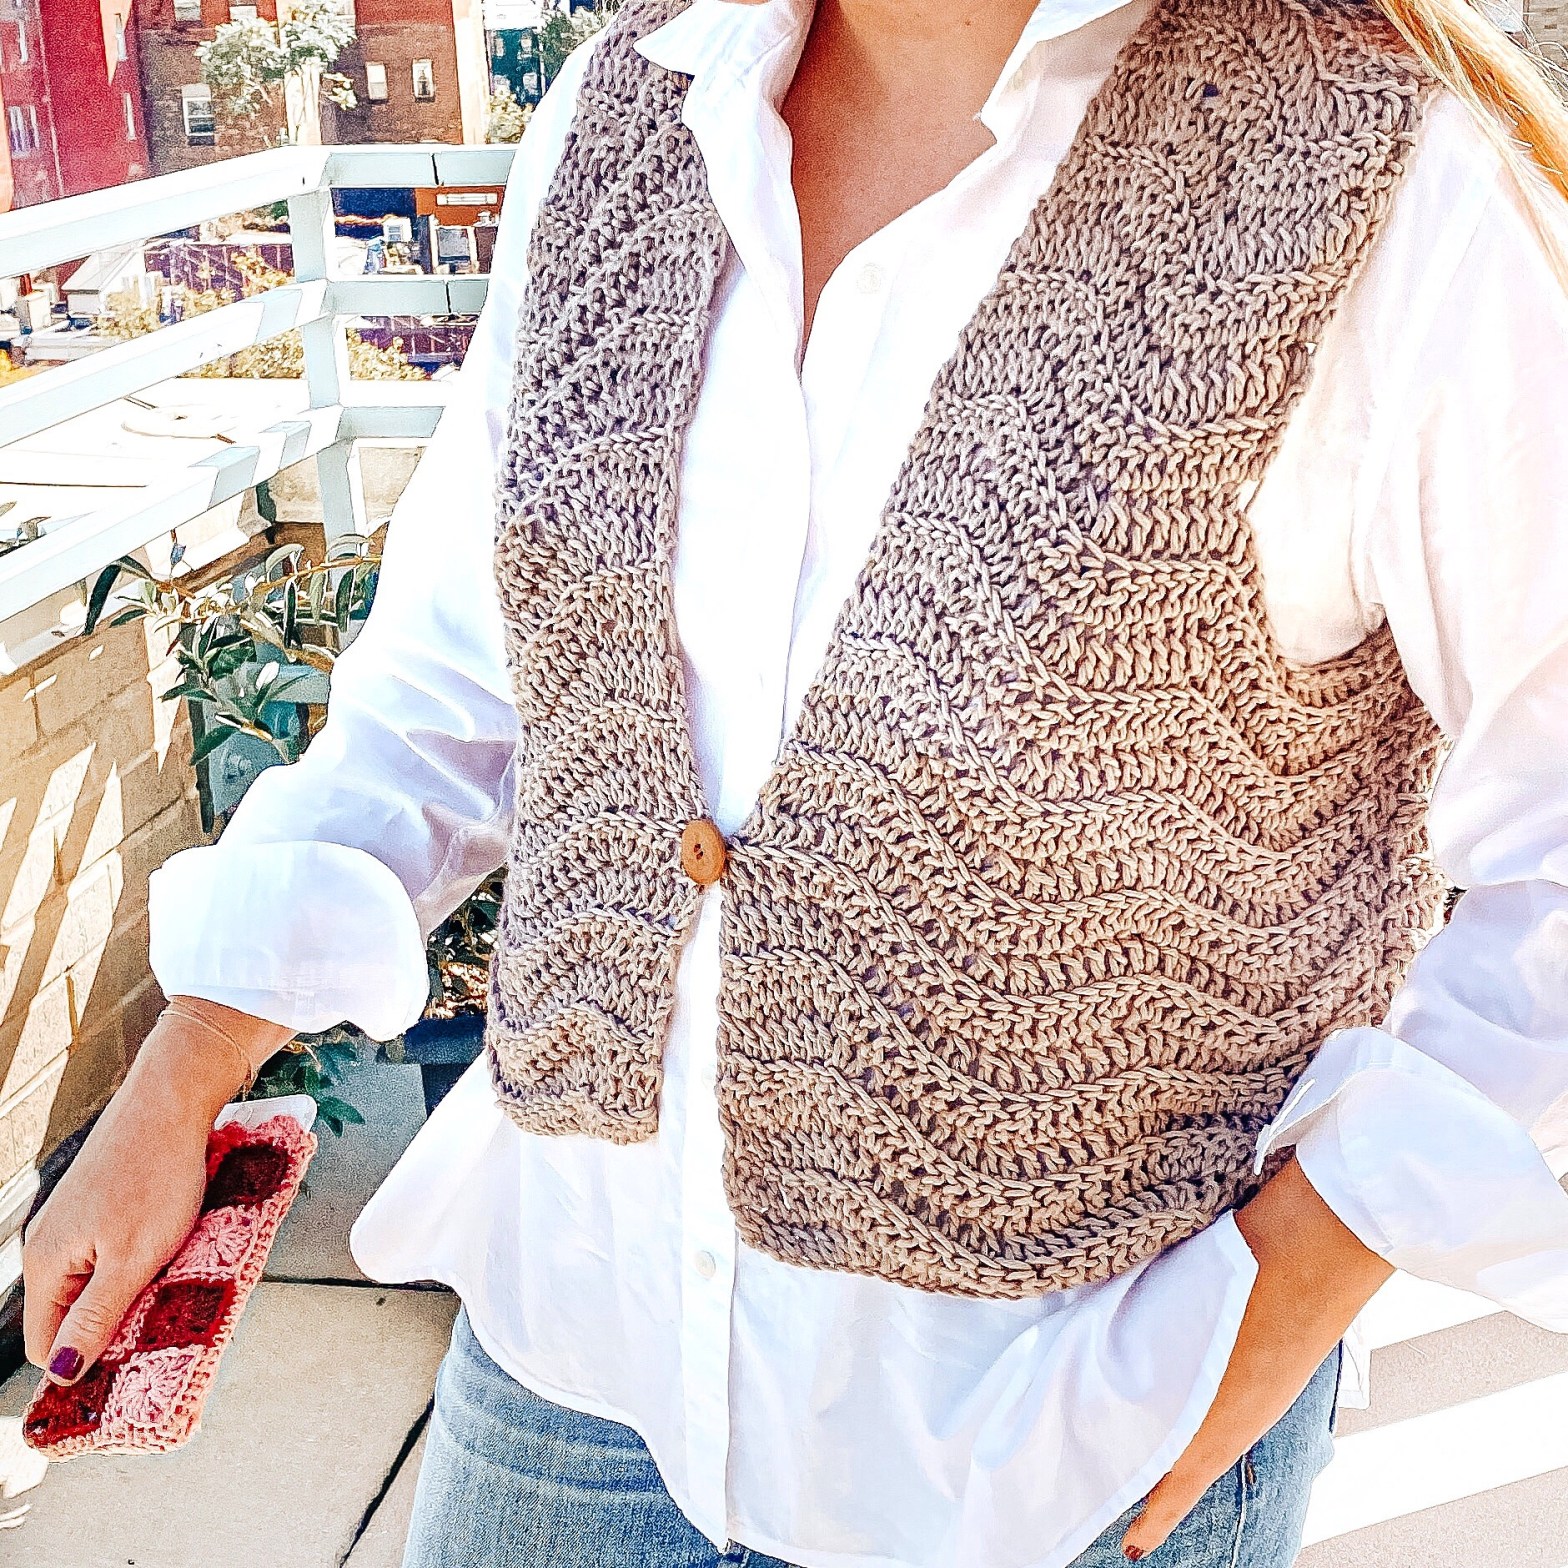
Hi everyone, I have alot of news going on to tell you about. While it may seem I have not been too active in my blog, it is because I have been working on a whole new website to share with you. I have now started www.citybrightknits.com You can find all free patterns for both knitting and crochet, as well as a shop where I see handmade pieces from my collection.
I would love for you to check it out, and share my newest pattern for The Ripple Vest! Have a happy Friday 🙂
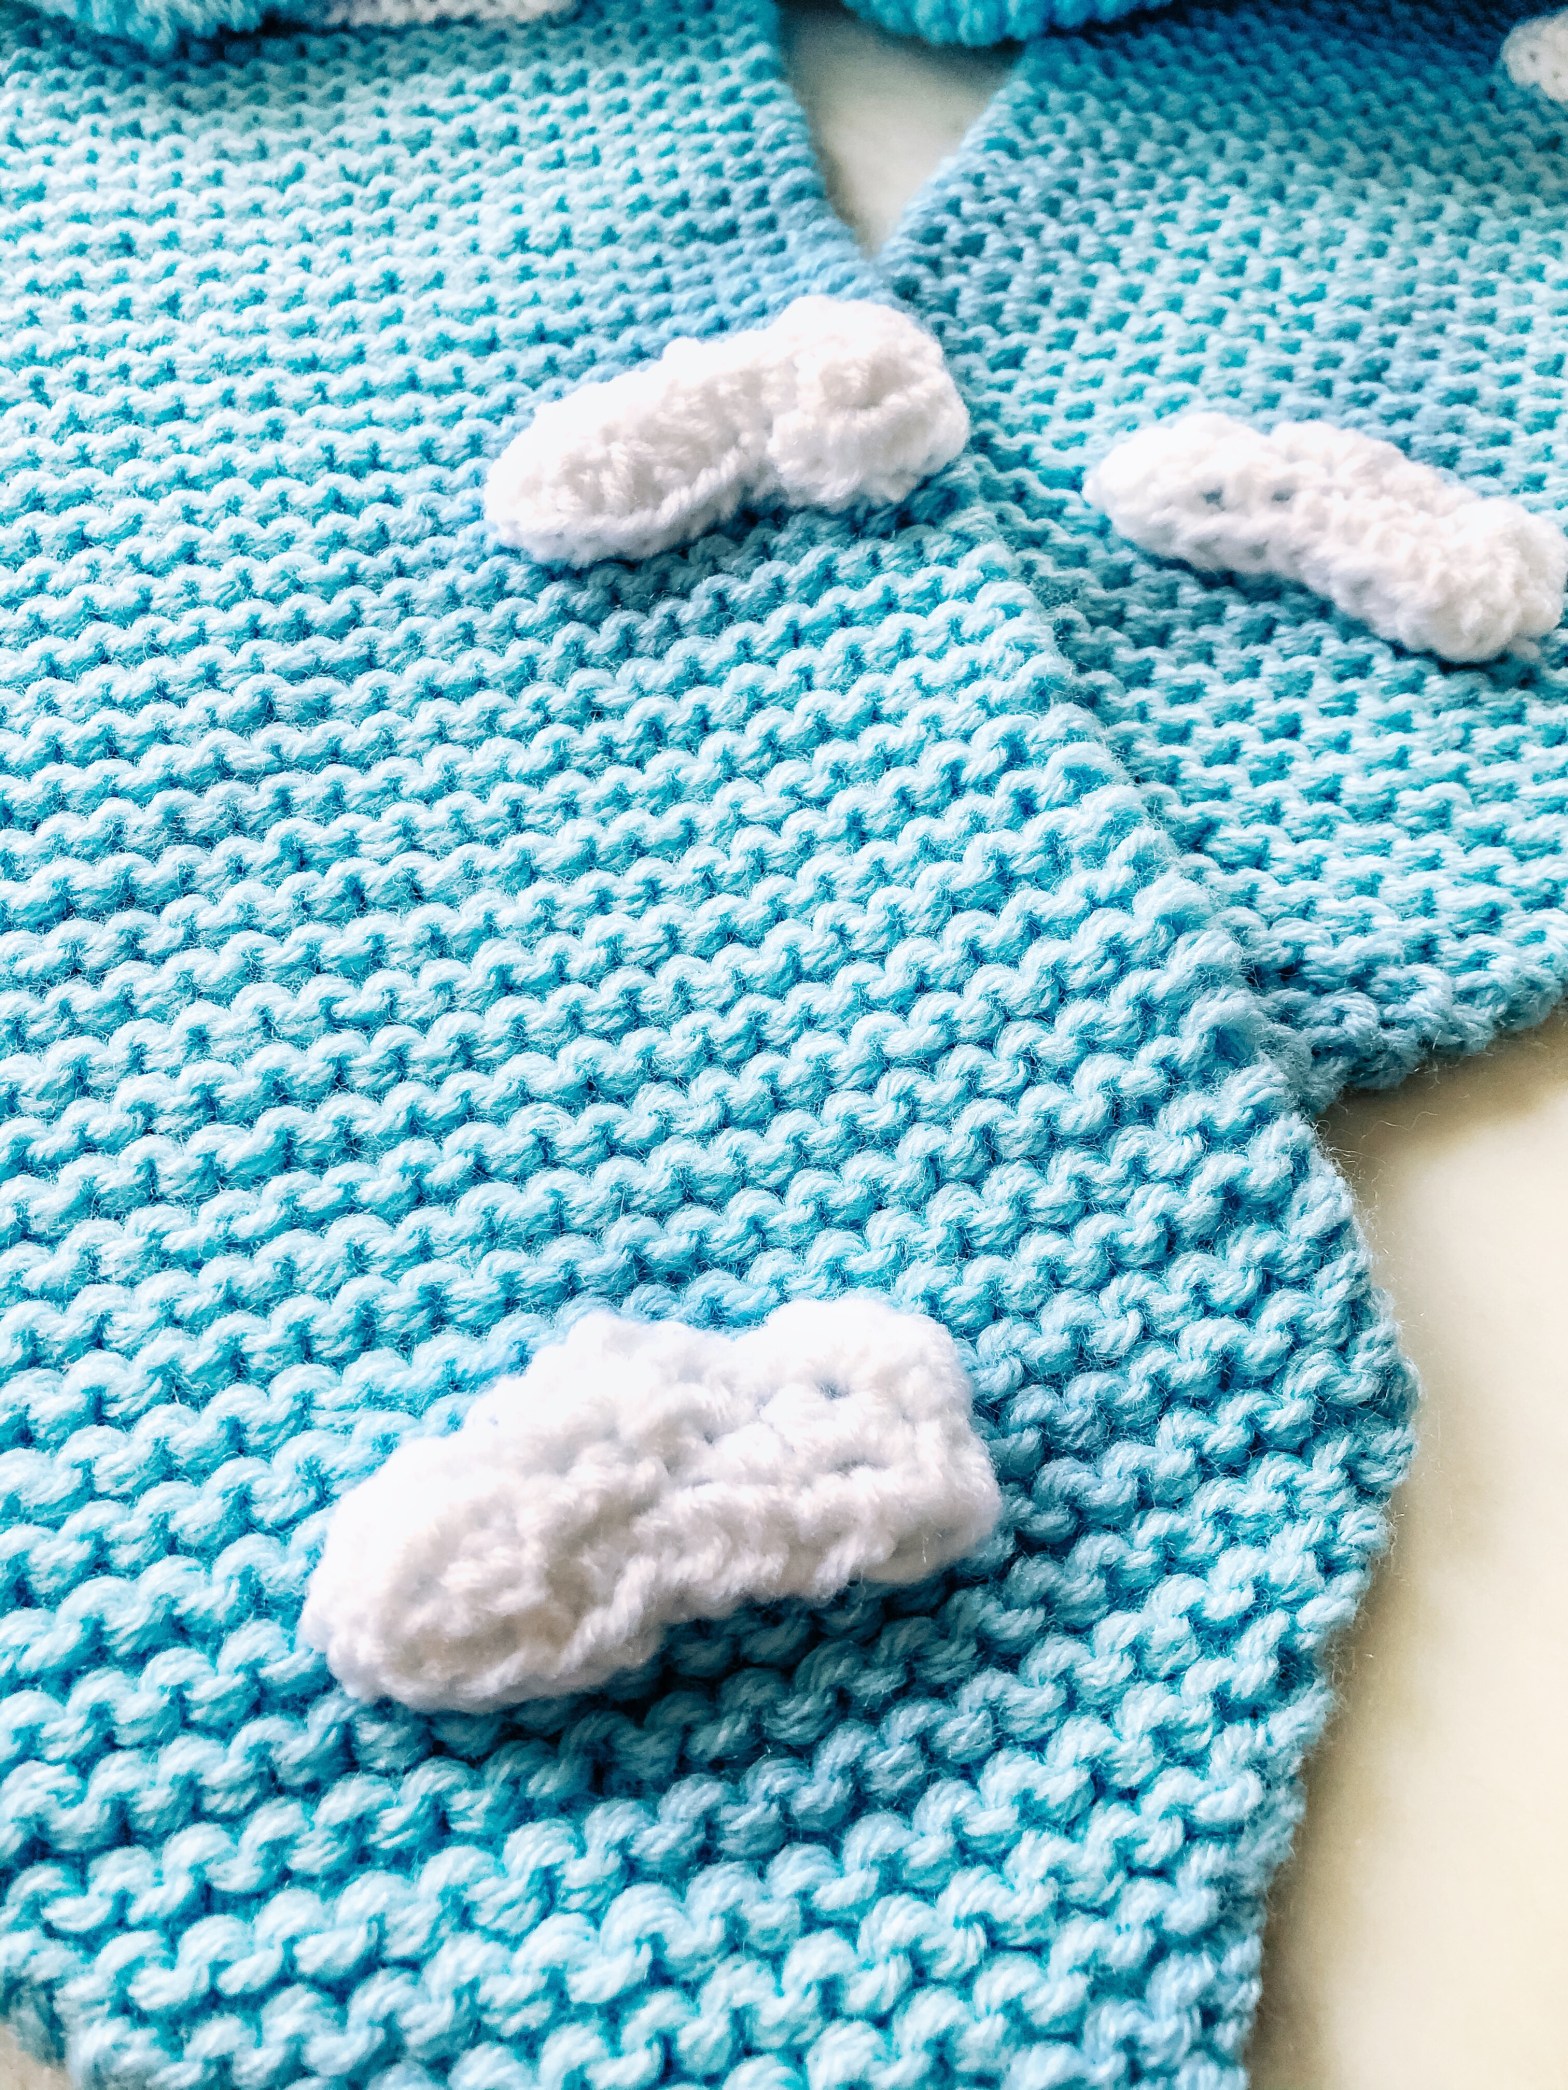
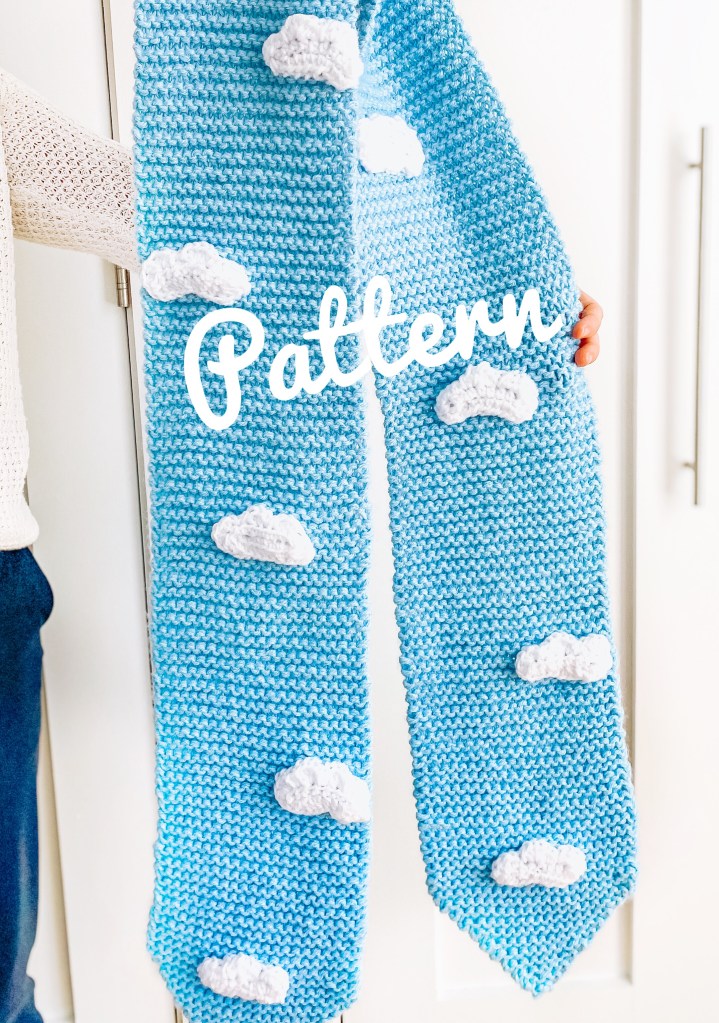
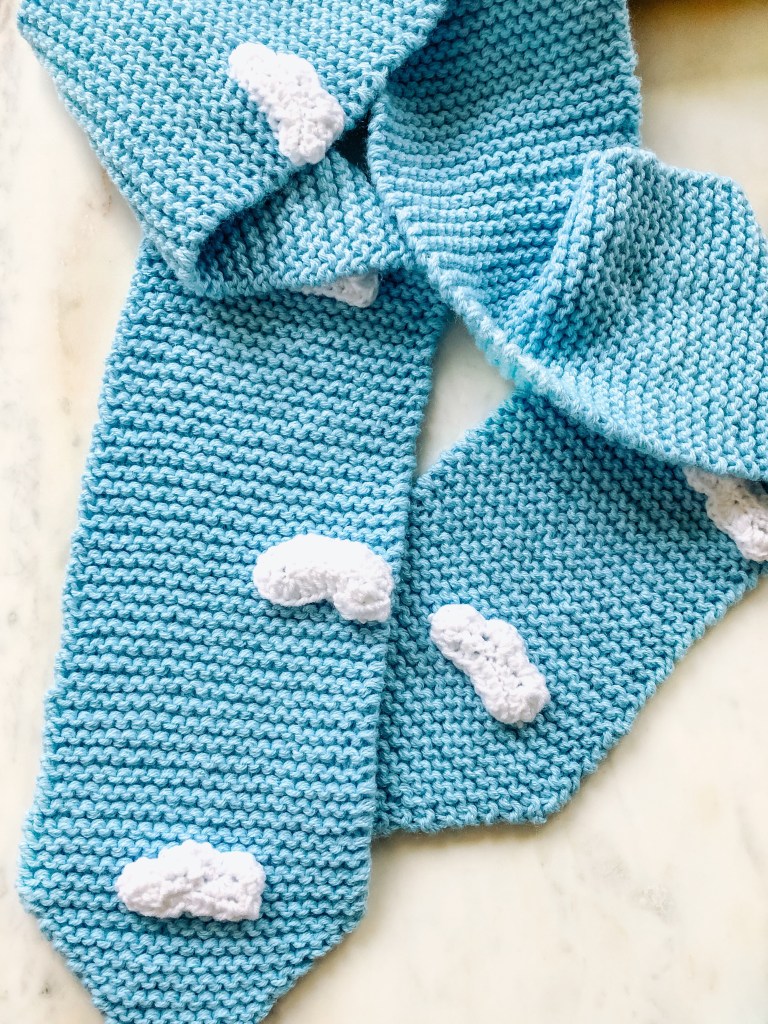
Hi everyone, Happy Friday to you. I wanted to create something a little more fun for your handmade holiday gifting. I just released a new knitting pattern for a knit scarf with crochet clouds on it. You can find more information in the listing in the my shop.
Welcome to October! October is National Breast Cancer Awareness Month, and as part of that, I would like to help spread the news and support towards early detection and the need for research.
Breast Cancer Awareness has a special place in my heart because my grandmother is a breast cancer survivor. In honor of her, I would like to do what I can to help women to stay healthy and aware. During the month of October, 20% of all my sales will be donated to the National Breast Cancer Foundation. Head over to my Etsy shop to participate.
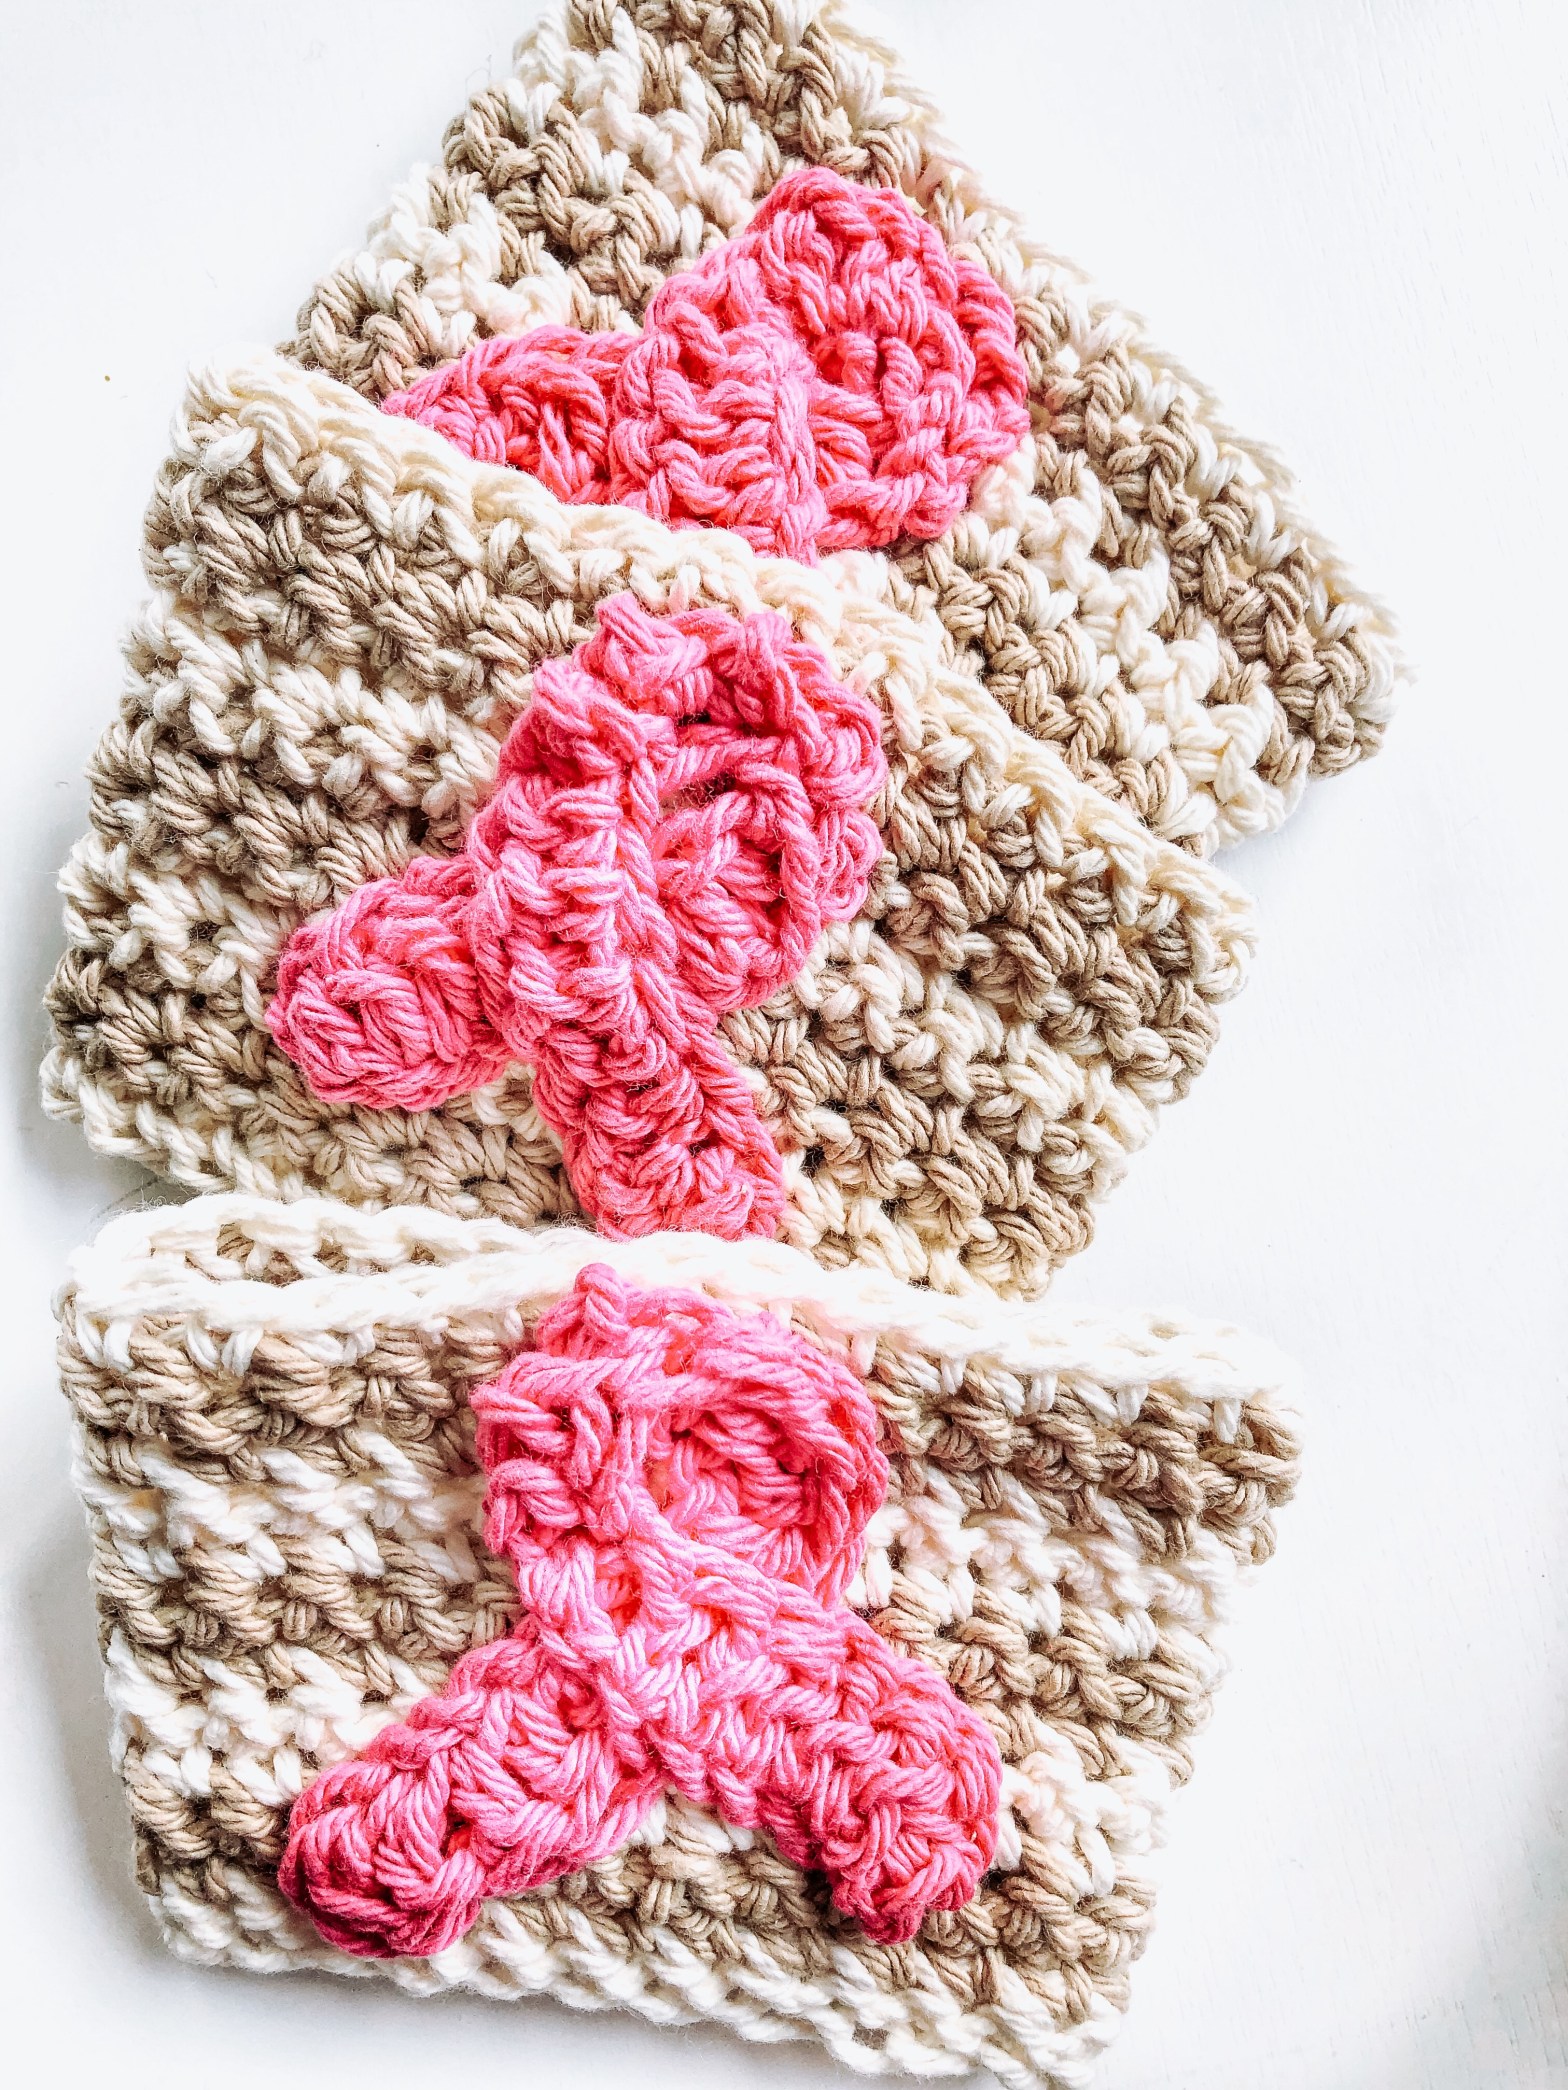
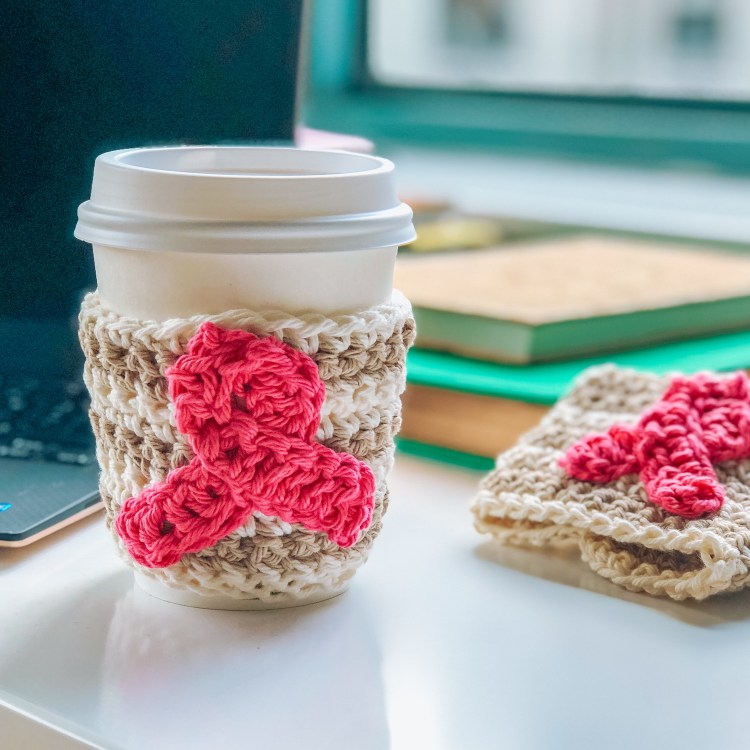
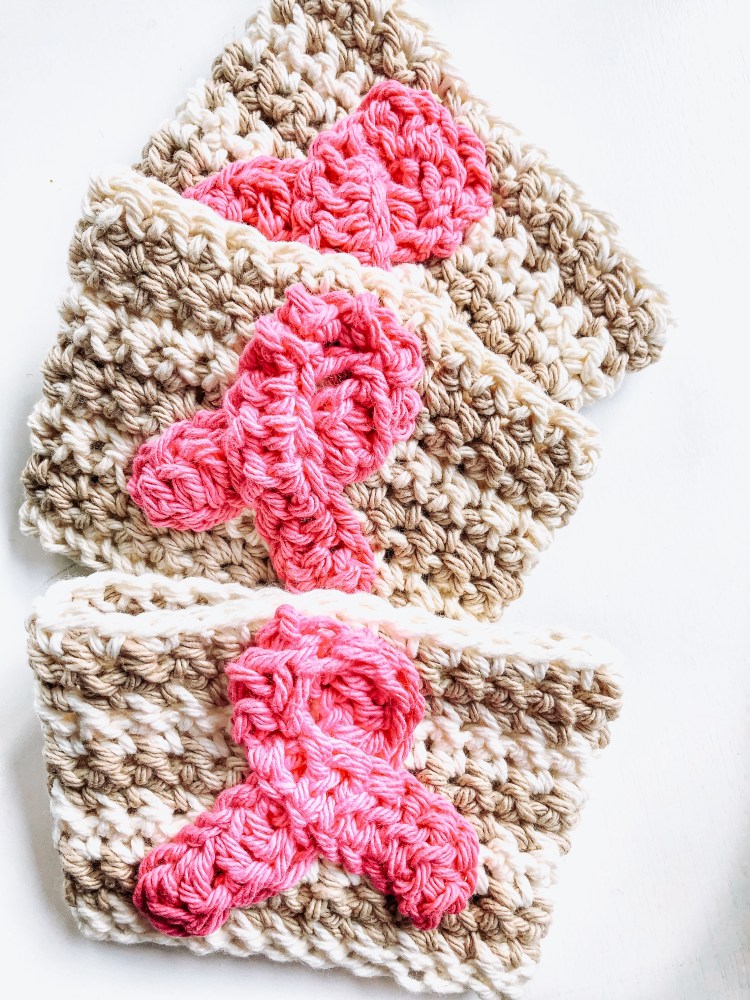
As a special way to spread the news towards awareness, I am sharing this free crochet pattern with you to make. Show off your Pink Ribbon Cozy to others as a subtle reminder towards Pink October.
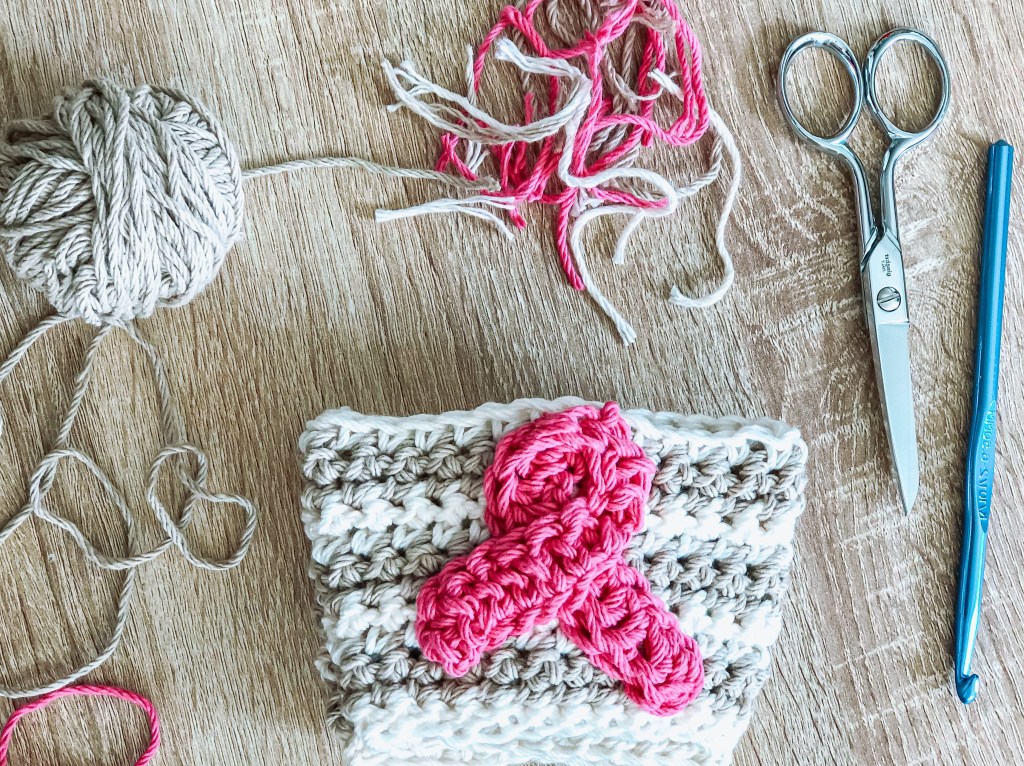
Materials
1 skein of each color or scrap yarn
Hook, size K, US 10 ½ (6.5 mm)
Scissors
Tapestry needle
Sewing pins (optional)
Cozy fits a standard 12-16 oz cup with a 10.9” (27 cm) circumference, measures 3.5” – 4.5” ( 8 cm – 11 cm)
Notes
This pattern is designed for using medium weight yarn, however, you can substitute by using a smaller weight yarn working double stranded. Cozy is made flat working across rows and then seamed together at the end. Cozy pattern is written for colored stripes, but you can make it in a single color. Ribbon is made separately, and sewn onto the finished piece.
Cozy Pattern
Chain 25 in color A.
Row 1- using color A, work a sc into 2nd chain from hook, sc across to end. Ch 1. Turn. (24)
Rows 2-3- using color B, work sc in first ch from hook, sc across to end. (24)
Rows 4-13- sc into each stitch across alternating colors A and B every two rows.
At row 7, you will begin an increase.
Row 7 – increase row, sc 11, in the next stitch 2 sc into same space, sc 12. Ch 1. Turn. (25)
Row 8 – sc into each stitch across. (25)
Row 9 – increase row, sc 12, in the next stitch 2 sc into same space, sc 12. Ch 1. Turn. (26)
Rows 10 – 13 – continue working sc into each stitch across alternating colors A and B every two rows. (26)
Cut ends and leave yarn tails for sewing.
Pink Ribbon Applique
Using pink color: Ch 26. Turn, dc in 2nd ch from hook, and each st across to end. (25) Repeat for another row.
You should now have a strip. Twist the strip so that it resembles the “pink ribbon”. To do this, fold the strip in half, and pull apart the legs and create a rounded opening at the top. You will use the tapestry needle to sew the ribbon onto the cozy. Option to use sewing pins to secure the ribbon in place while sewing.
Seaming the Cozy Closed
Once the ribbon is secured, you will seam the cozy closed. You will need to seam the work on the wrong side of the piece, so that the seam is not visible to the right side. To do this, lay the cozy with the right side facing you, fold the two ends inwards so that
Thank you so much for taking the time to make this pattern and support breast cancer awareness in your community. You can help by sharing this pattern with others!
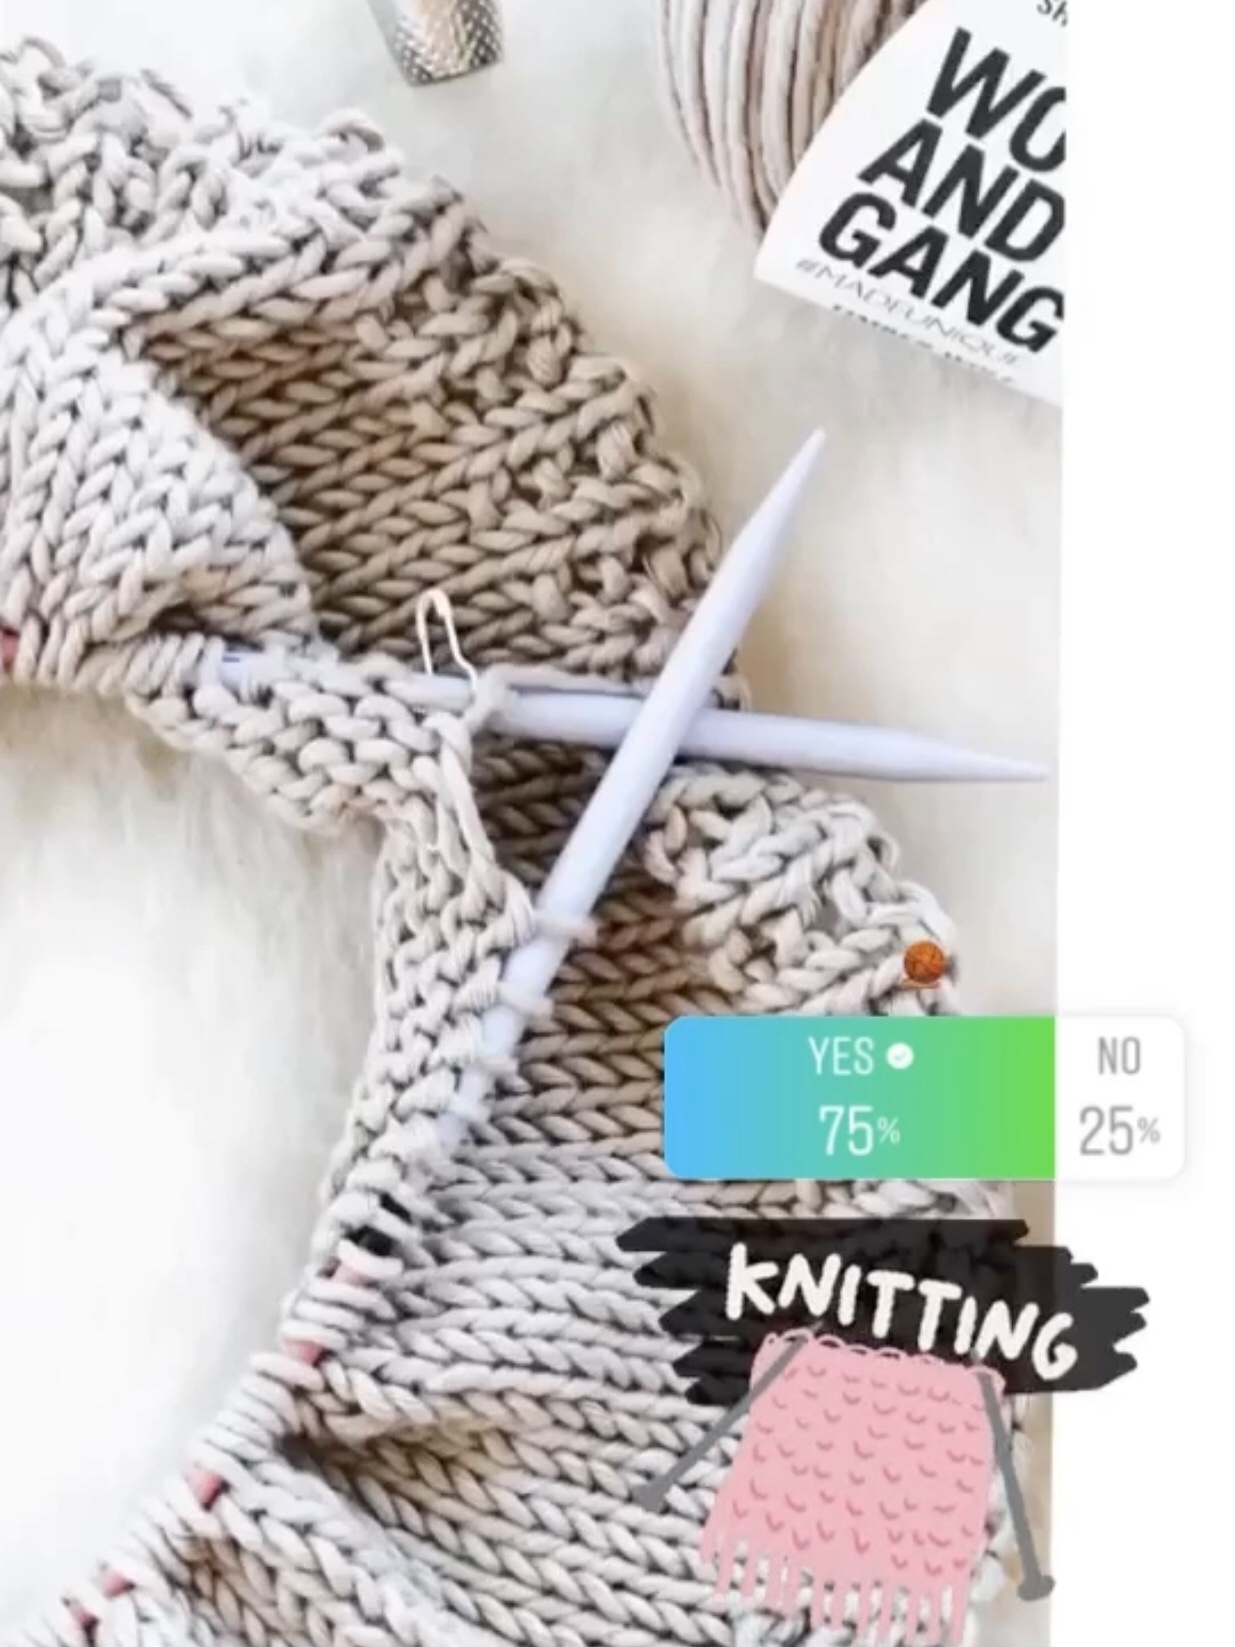
Hey everyone, I am going to be writing today about being a pattern tester for knitting and crochet designs. I will be answering questions like: What is being a pattern tester, and how does it work? How do you find patterns to test, and is it free?
I recently took a poll and 75% of people answered YES to having pattern tested before, but for those other 25% who have never tested, I am going to be giving you some information for tests.
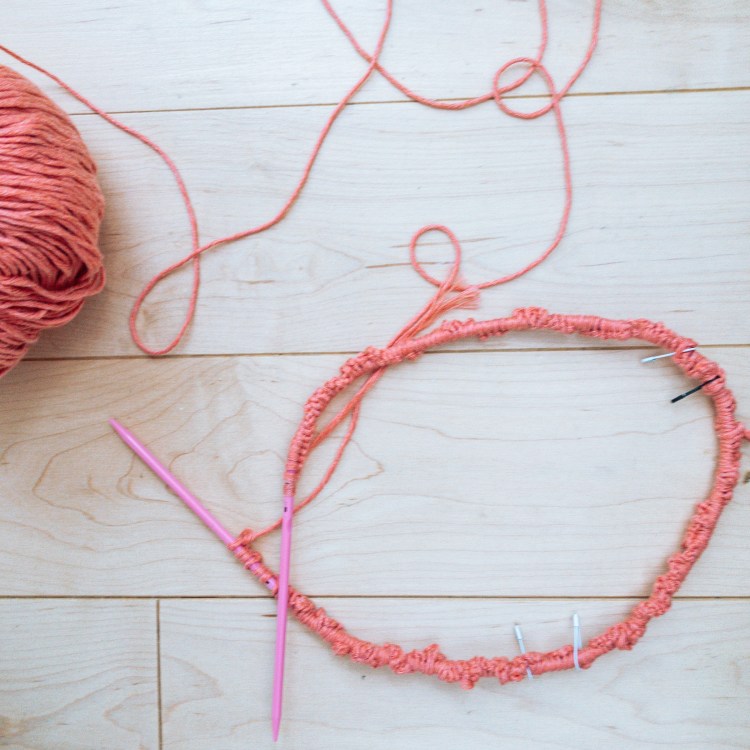
Welcome to summer! During the month of July, I will be joining a knit-along (KAL) working on the knitting pattern for the desert dusk top by Oihibasrf_Knit on Instagram. Now, I am not a strong knitter – I have done some knitting projects and have made a sweater or two- but I would not call myself proficient. I hate picking up dropped stitches, and creating holes by yarn overs never works out for me. However, I am pushing myself out of my comfort zone for this project! (wish me luck)
Getting Started:
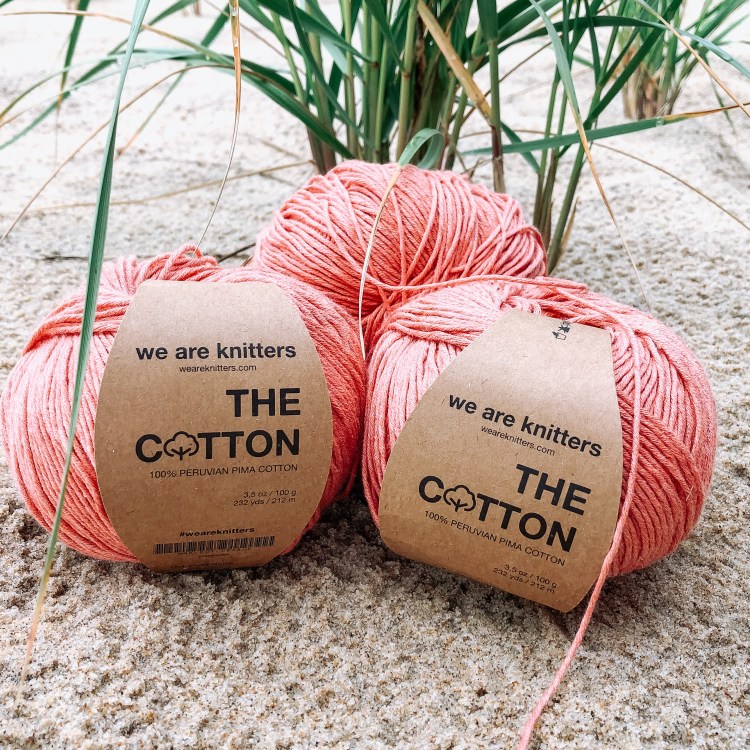
The KAL is open to knitters at all levels, and you are welcome to join! Materials required for the KAL are:
3 skeins of cotton pima from @weareknitters Use my $12 Discount code : MGMJX3P8B 1 measuring tape 8 markers A 3 mm / 11UK / 2.5 US circular needles with a 60-80 cm / 24-31 in length cable (See her profile for the pattern information on Etsy)
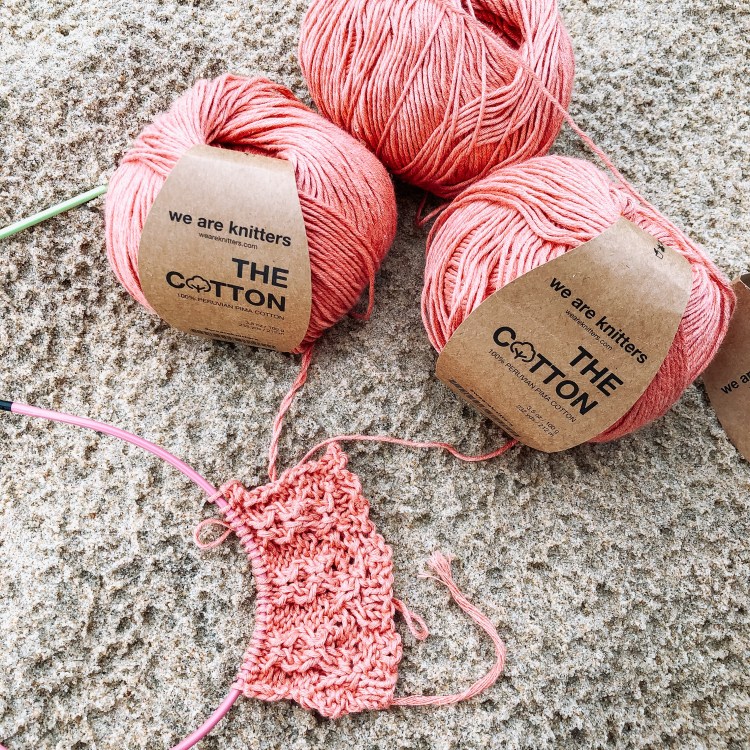
Swatching:
I spent some time creating a swatch for the project, just to make sure I knew what my tension looked like. I never really like swatching because it’s so much work for a piece that you are only going to just unravel – but – when making a garment I feel like swatching is a must! Swatching is going to let me know how my stitches measure up so that I can then calculate what size shirt I will need to make for myself. I would hate to make a small size and then it’s way too small at the end! So, I that’s why I swatched.
Beginning:
I decided to learn a new cast on technique in anticipation for a nice finished garment. In my last sweater I knitted, I wished that I had done a stretchy cast on edge at the start. So, I learned how to do a stretchy cast on using a YouTube video by 10rowsaday. I will be using the second technique from this video.
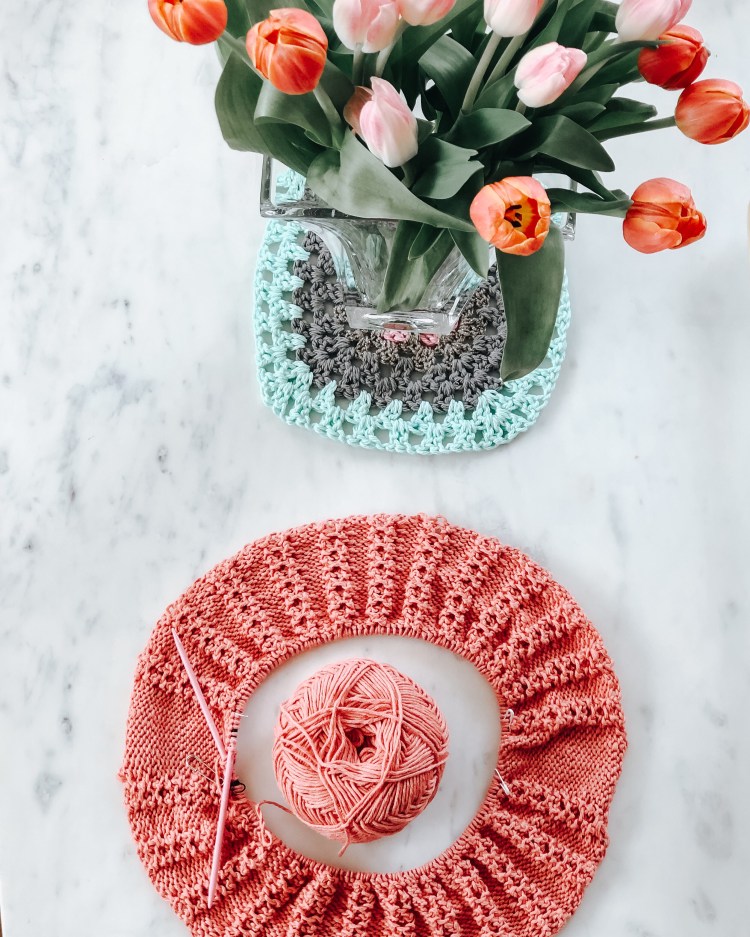
Midway Point
(Well, I will call it the midway point) I am working along the body section of the top – it’s worked bottom up. I just joined my second ball of yarn, and I am happily surprised at all the length I was able to get out of my first ball so far. The piece is measuring about 7″ (the length of one hand plus 2 inches). The body is worked to your own discretion, so I can decide how long I want to make it. So far, I am loving the design. It’s pretty and delicate, and intricate in a way that is very forgiving to little mistakes.
I will say, I have made a few mistakes along the way. I started out with one mistake that I noticed right away in the ribbing. I accidentally worked two consecutive rounds in purling, so I can see where there is a break in the pattern. Because the pattern is so intricate though, you can’t really tell unless I point it out to you. Then I started making more mistakes….it’s because I am working on this knit at night. You know how it goes, when you try to casually knit while watching tv and noise going on in the background, and then the next morning you notice some mistakes. Ah. I’ve gotten the hang of how to un-do the rows to straighten out those stitches though, so that’s a positive.
Overall, I am loving this knit. It’s an easy pattern to remember once you get the hang of the stitch pattern. And I have set my stitch markers in a way to remind me which row I’m working. I am also really admiring the color I chose to make this. I can’t wait to see it all finished. I have decided to not be too hard on myself about hurrying and the little mistakes because I went into this knowing it was for fun and just for me.
Another thing that I am overjoyed about is that the host has been so friendly in getting all the knitters together on a group chat. It’s been a great way to ask questions and check in on others’ progress. Also, I feel like I have made some new friendly connections with people. This is my first time ever doing a KAL (knit-along), and so far I am happily surprised with how fun the experience is.
The Shoulder Straps
I have worked 11″ of the body and time to move onto the shoulder straps. Reading this pattern it is unique because there is a chart for the decrease rows of the straps. It’s pretty easy to figure out, and once you get the hang of shifting the curly ribs pattern to the chart it’s not too bad. However, this took me multiple days to get in the head space! The first day I attempted the straps, I worked two straps with multiple errors. It was hard for me to read along to the chart and to keep track of which row (1-4) I was working. I had total brain fog. The next day, I tried it again for the third strap. It worked like a charm. I kept the pattern up in front of me and had a post-it note with hints for me to follow. I worked this strap perfectly. Proof that the first day was only a brain fog, I ripped out the two rows and worked them again. I would like to see the chart color coded to the rows indicating the 1-4 row pattern, but I made detailed comments in my Ravelry about it for me to follow along to.
I needed to add an additional inch to each strap to fit me. I added about 10 rows to the length of the straps.
Finshing
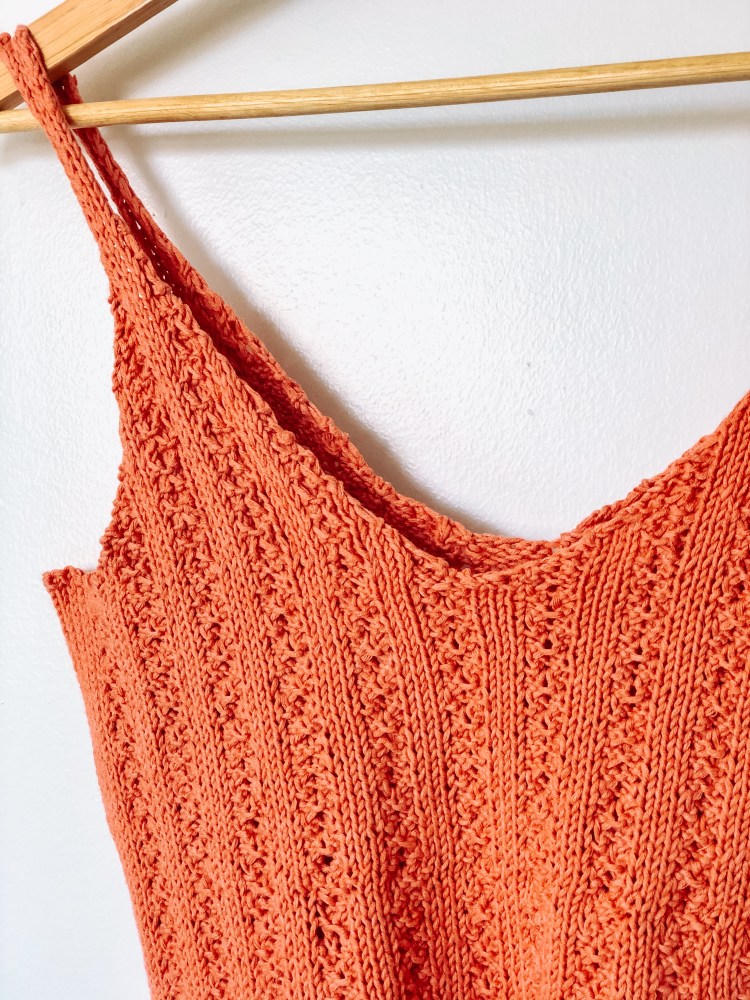
This pattern definitely benefits from blocking. I wet the shirt and laid it flat to dry, pinning the edges tight. The finished product is magnificent! The definition really stands out and the shape is wonderful. Using this yarn for the first time, I’ve never had a pattern block so well.
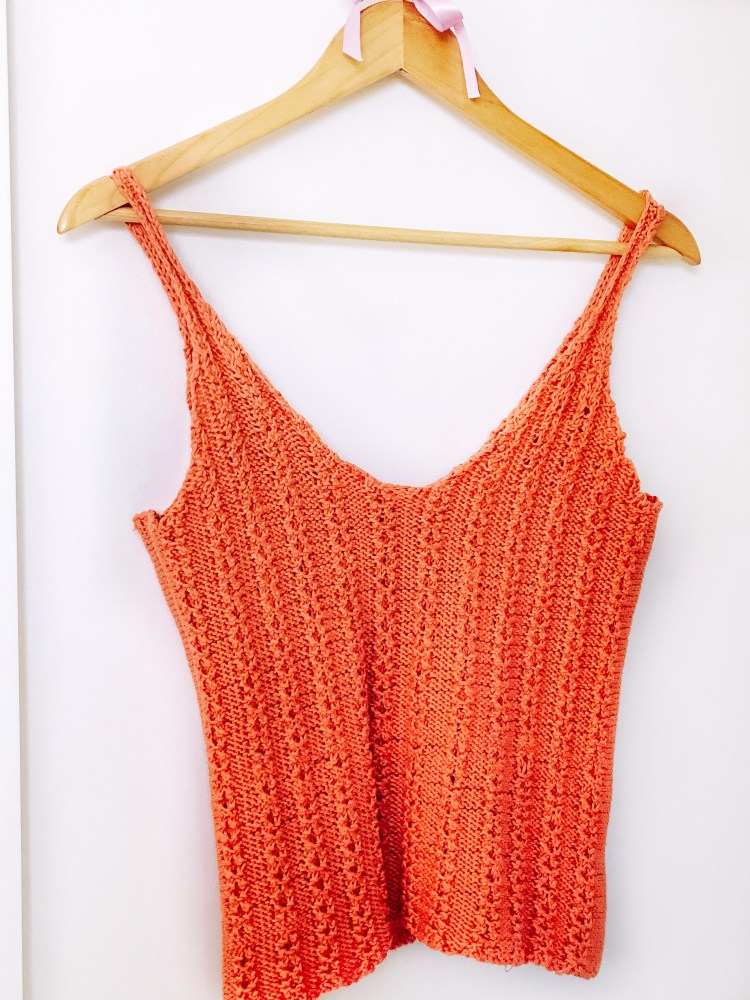
The Final Product
I tried on the top and it is so perfect! The straps fit nicely on my shoulder and cup my shoulders snug without falling off. The v-neck is not too low that I’m adjusting it, and the body is fitted. Using only 2 skeins of yarn, the body is short waisted, but this adds to the charming look. If the body were longer it would appear more relaxed than fitted.
Stay tuned for more finished photos of the top! And as always, check my current status on Instagram for photos and stories.
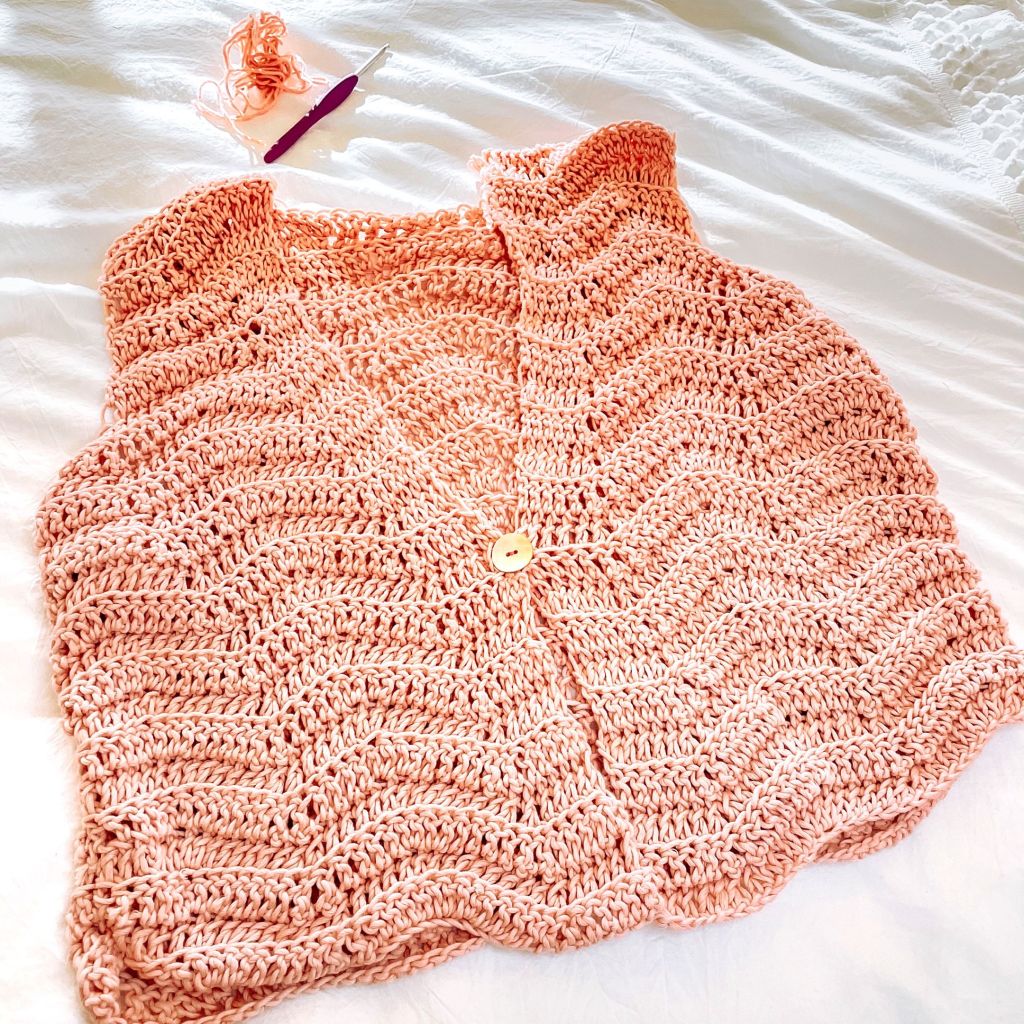
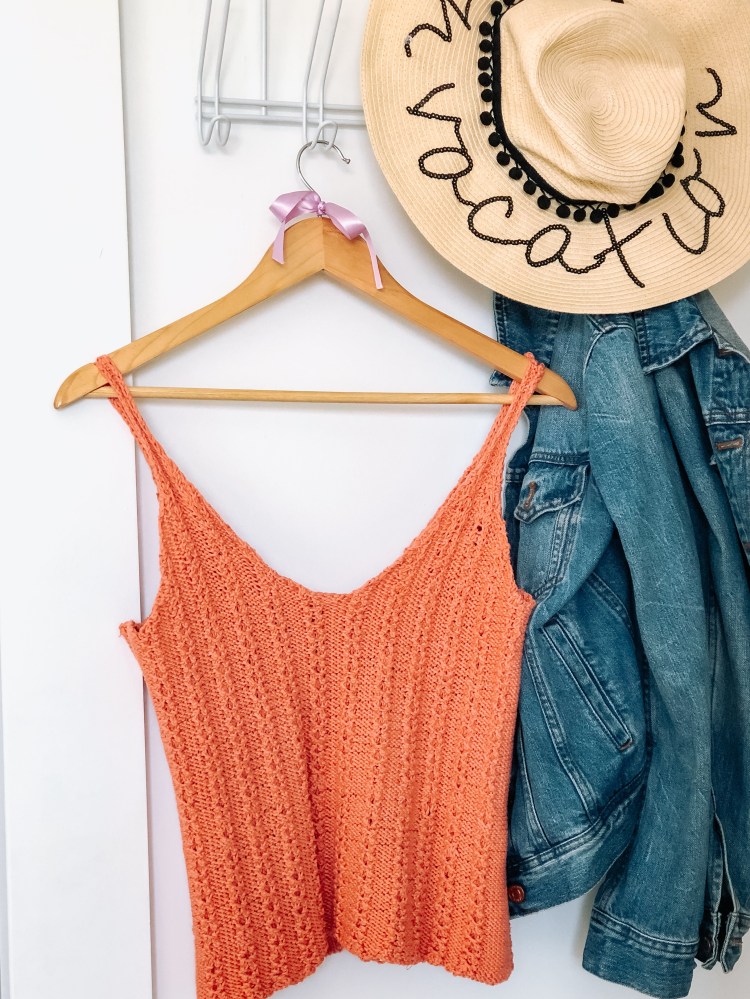
Hello Friends! I created a pattern for a summer top that I am sharing with you just in time to kick off summer! This crochet pattern is available in sizes XS-XL, and is an instant digital download on Etsy. I am offering a special 50% off discount if you like my post on Instagram. Go there to see the discount code in the details of my post.
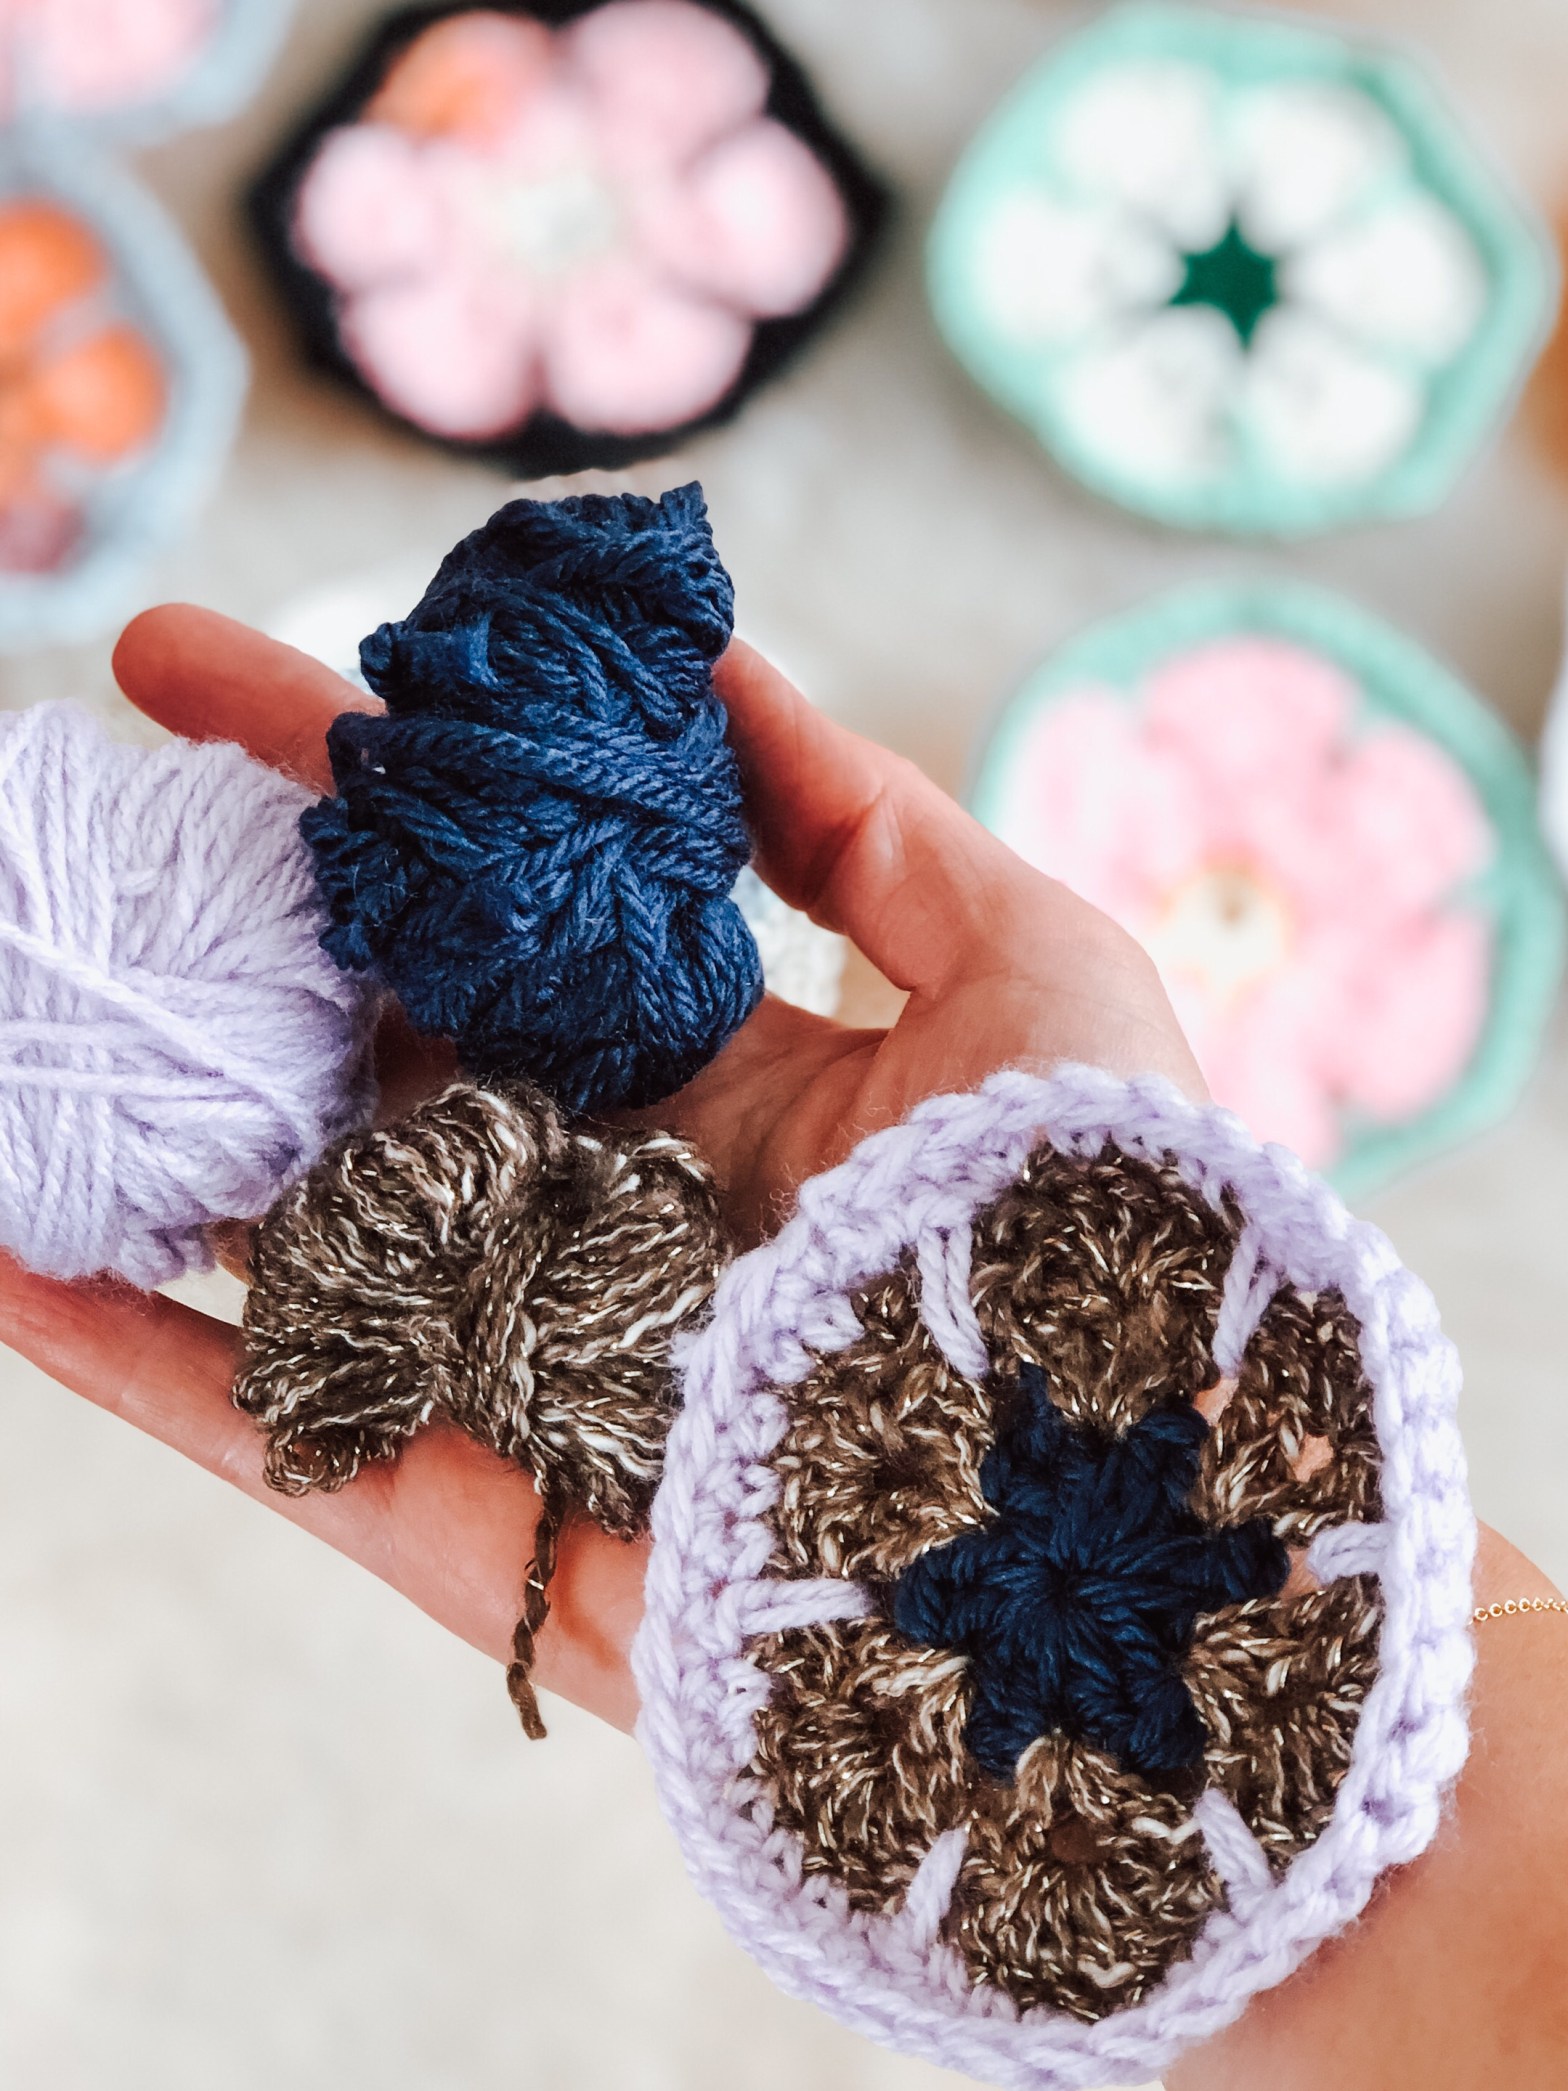
Hello, crocheters! I’ve been working on lots of little projects here and there, trying to clear out my yarn stash. (Still lots of progress to make there :)) My current project for this week will be piecing together the 100’s of granny squares I’ve been making with my stashed yarn. Really I only have about 30 squares, but it feels like lots more. Keep reading to find out more about my granny square project using African Flowers!
New tutorial video shared on my Facebook page with a quick and easy method for adding button holes. No major skills needed for this simple tutorial. Head over to see the video now!
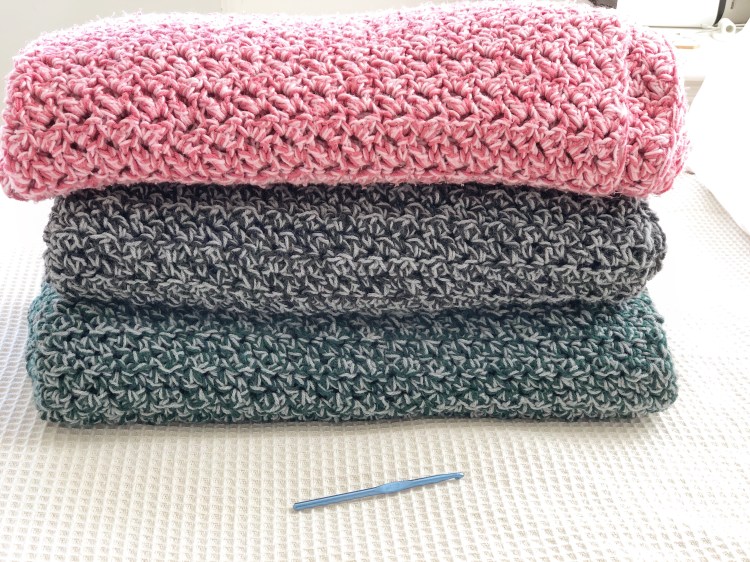
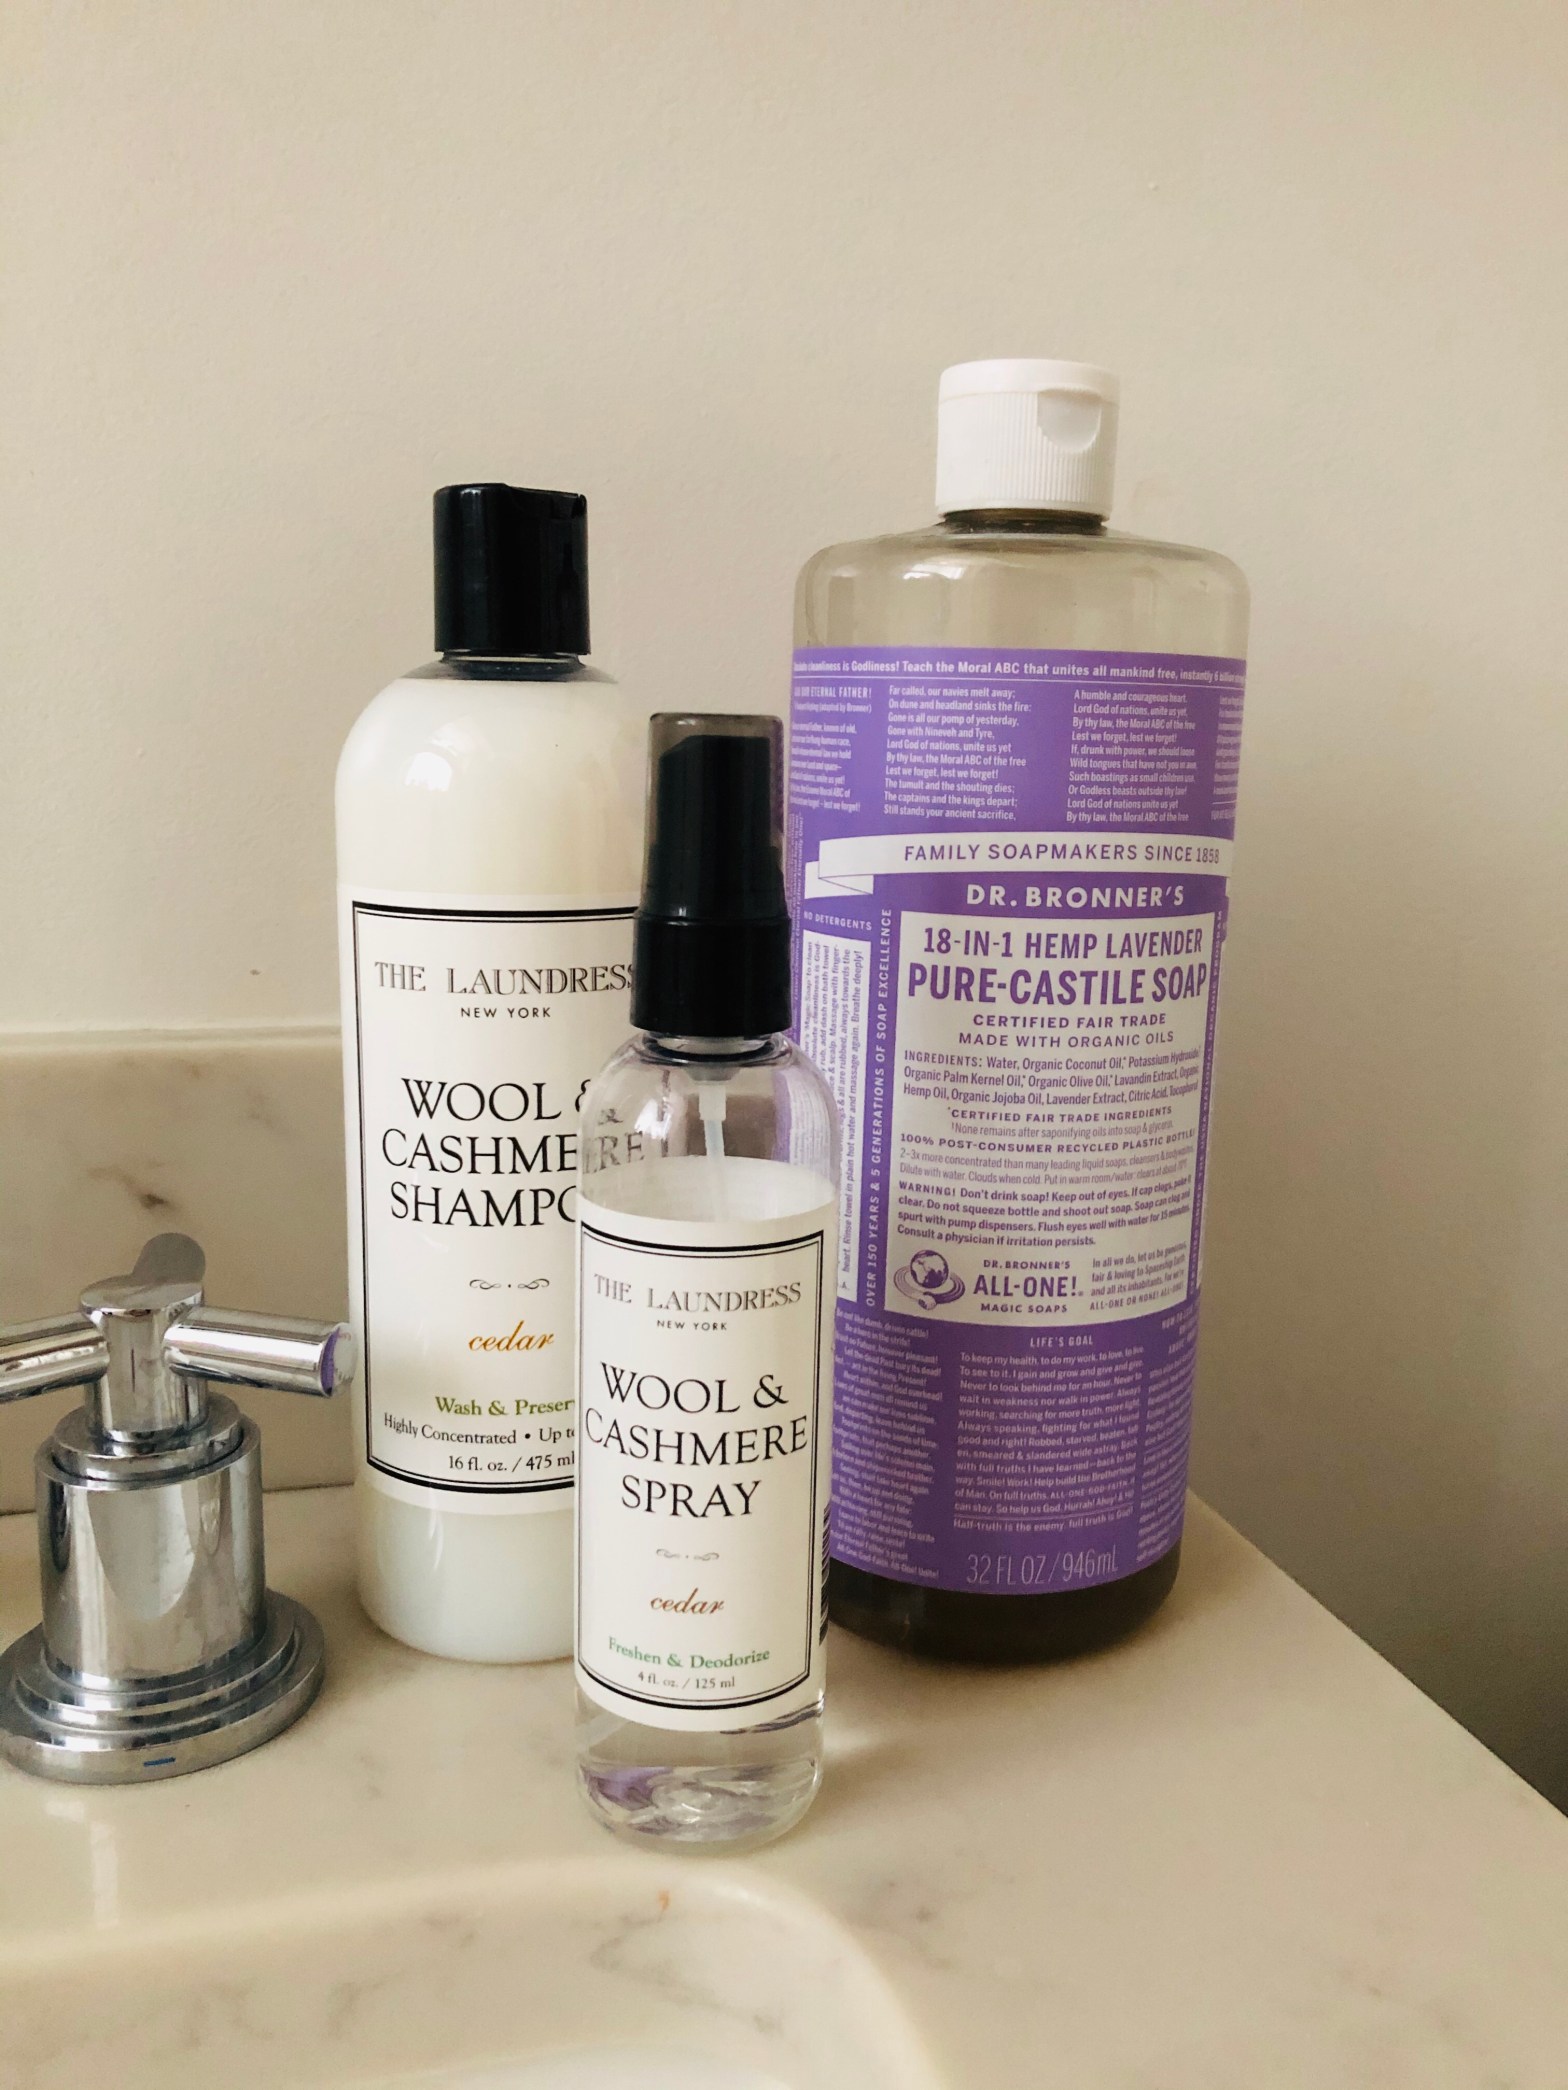
Particularly during this time of pandemic, it’s important that you take care with the upkeep of washing your delicate handmade items. Sometimes people think that something handmade is by nature ‘delicate’, and too delicate to wash. Well, I am here to help you know that cleaning these handmade items is easily done. This post is going to help you learn how to wash and freshen your own handmade articles at home.
What makes handmade so special, is that handmade pieces are made specifically for someone and are meant to be loved and to last. For me, I love gifting handmade items that I have taken the time and effort to create for people. I hope, also, that receiving a hand-knitted sweater or crocheted baby outfit is equally as thrilling and memorable to the recipient. When in comes to using those special handmade things, like an every day scarf, sweater, or blanket, sometimes after a while they require delicate washing. I have been to people’s houses where they have crochet blankets sitting over the back of a couch and have commented on how it’s never been washed. Well, grab your blanket and keep reading.